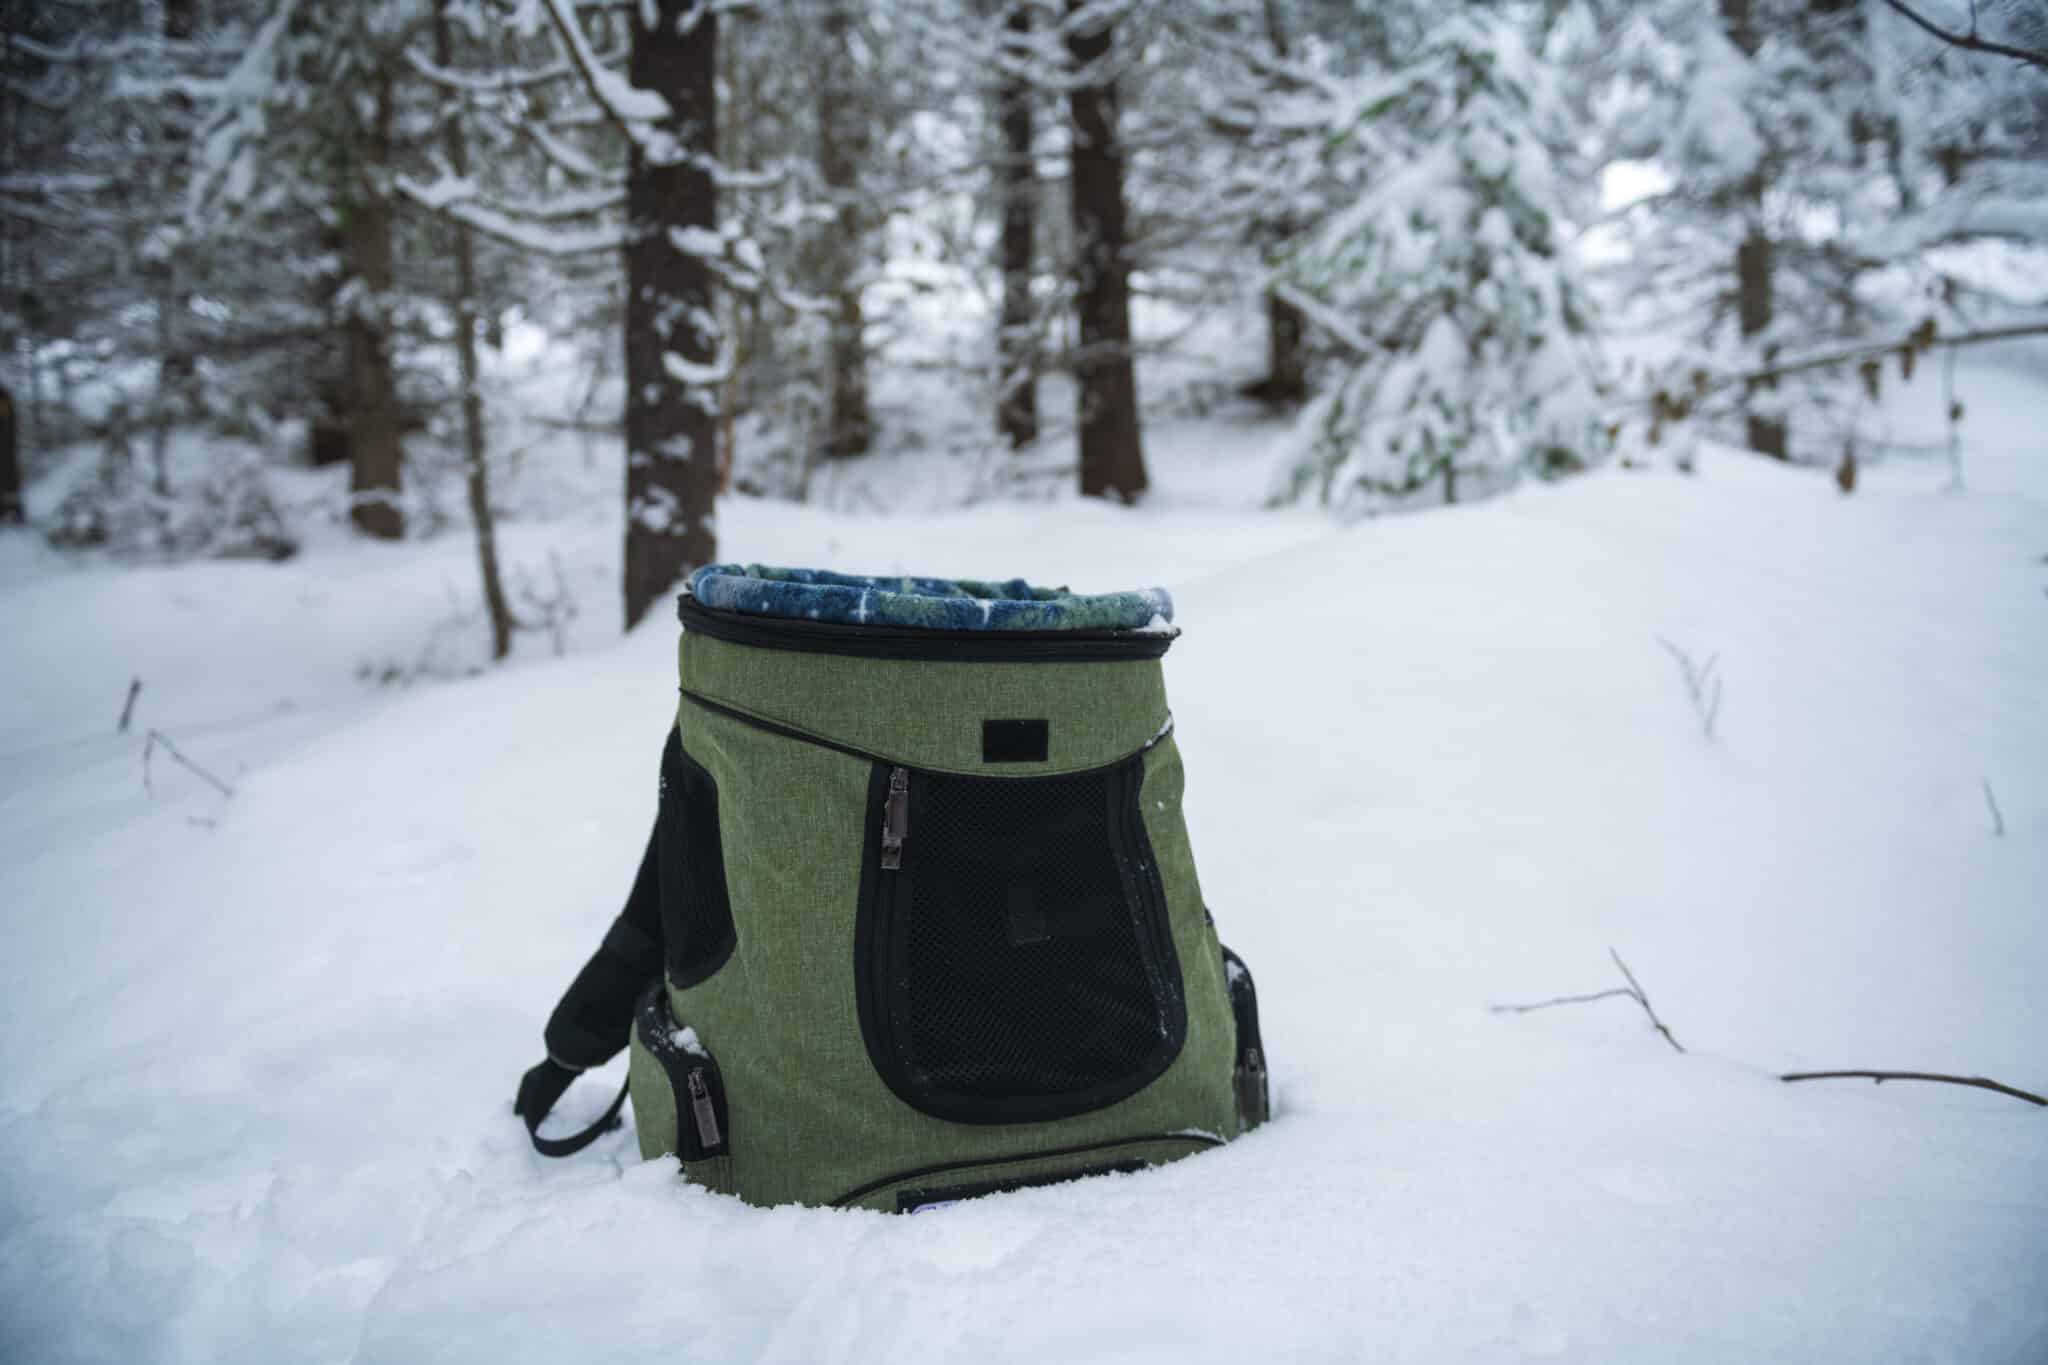
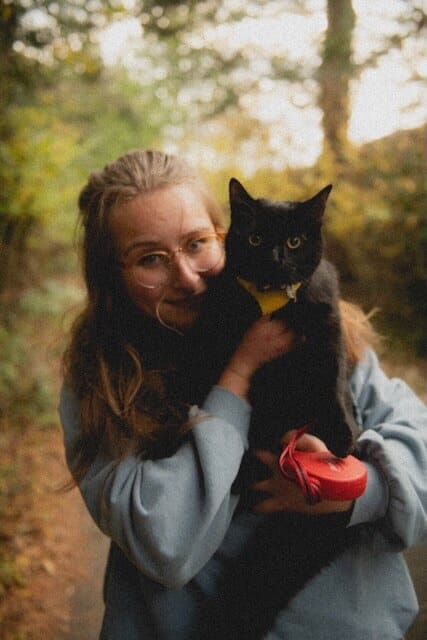
I don’t know about you, but at times, I find it difficult to take Chumka outside during the winter. We often stick to short visits around the yard, as Canadian winters can really be rough. However, this winter I decided to find a way to make my cat’s backpack more “winter proof”. And the best part is, we won an amazing giveaway by Narlynx (@nar.lynx)! We got this amazing fleece backpack bag/bed which made the project much easier.
I am very excited to take you through the process!
The Search for the perfect layers
I was inspired by another adventure cat account Lava (@meowdyssey.of.lava) and decided to use sheepskin as one of the layers. I quickly learned that finding and getting (affordable) genuine sheepskin can be challenging. Etsy turned out to be the best place! I was able to find a store in the UK that sells/ sold sheepskin pieces that were “imperfect”. For me, it didn’t matter that the sheepskin had some natural discoloration or a small rip. I was getting a good deal – and beggars can’t be choosers. 🙈
I knew that the sheepskin wouldn’t be good enough – Chumka is a skinny cat who likes to be warm. So I started looking for another layer… and I saw that my friend announced a giveaway for her new company Narlynx! Narlynx is a brand focused on adventure cat gear – jackets, blankets, travel bags, and…. *drum rolls* BACKPACK BED/BAG! You can only imagine how quickly I jumped on that giveaway.
Backpack testing
When the temperature started dropping down, I resumed my project. My husband and I (along with Chumka) went on a number of winter adventures to test out the backpack. Each venture helped me to find another way to improve the “winter proofing”. I want to thank my Instagram friend (@natl.theo.graphic) who gave me a fantastic idea to use an emergency blanket as one of the layers. 🙌🏻
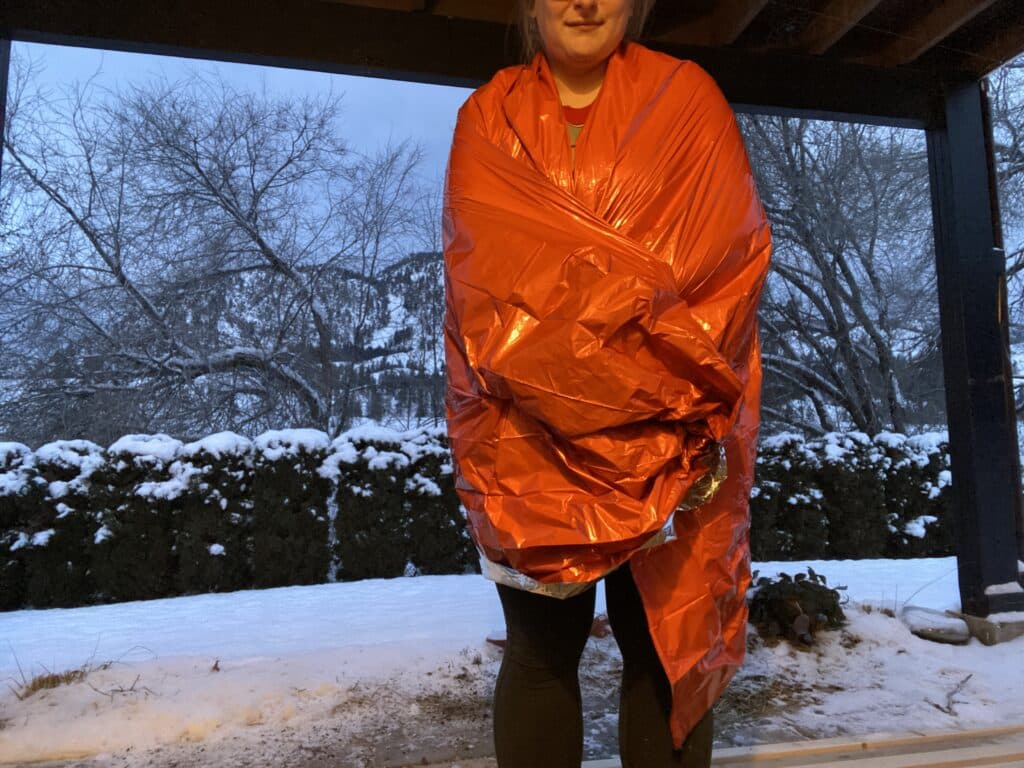
Emergency blankets are wind proof and reflect about 90% of your heat back to you. That’s exactly what missing in my current design – to stop the wind and to stop the heat from escaping.
I personally tested out the emergency blanket idea. Here is a photo of me standing outside in -12C/ 10F cold weather (with strong wind gusts). I went on a brief run around the yard, wearing only a T-Shirt under the blanket. The emergency blanket passed the test. 🙈😂
And as I am writing this post, I am so happy to say that I am satisfied with the results. Let’s jump into the process!
How to winter-proof the backpack
I want to say that I am not an artist, I am not good at sewing (there is no sewing), and the following process is like… Grade 3 arts and crafts project lol
First I measured inside the backpack so the sheepskin could fit. I had enough leftover to layer the bottom of the backpack. Then I cut pieces of Velcro’s and stuck them above the backpack’s windows, to keep the sheepskin “standing”.
Next step is prepping the emergency blanket. This is the one I used:
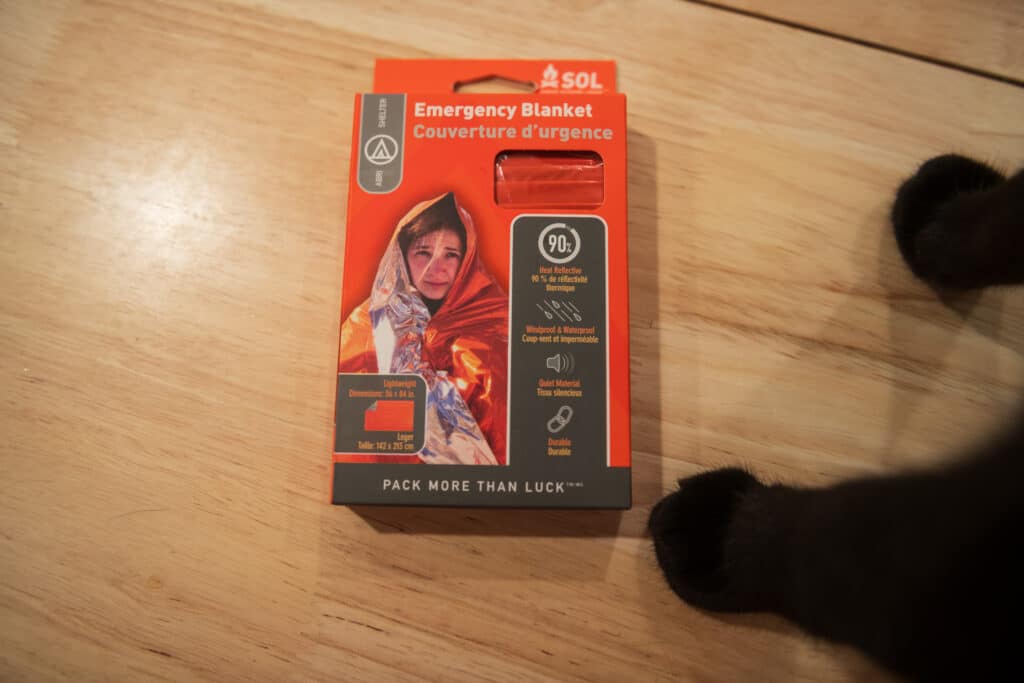
I chose this one over a Mylar blanket as it’s more sturdy and quiet. It’s also really cheap and HUGE. I made plenty of mistakes at first, I still had enough of the blanket to finish the project haha.
Next step is to lay the blanket flat and then place the sheepskin on it. I left a little extra room on every side at first – I trimmed a bunch of it during the final touches. I recommend to keep the top a bit longer and fold it over the sheepskin so it stays in place better.
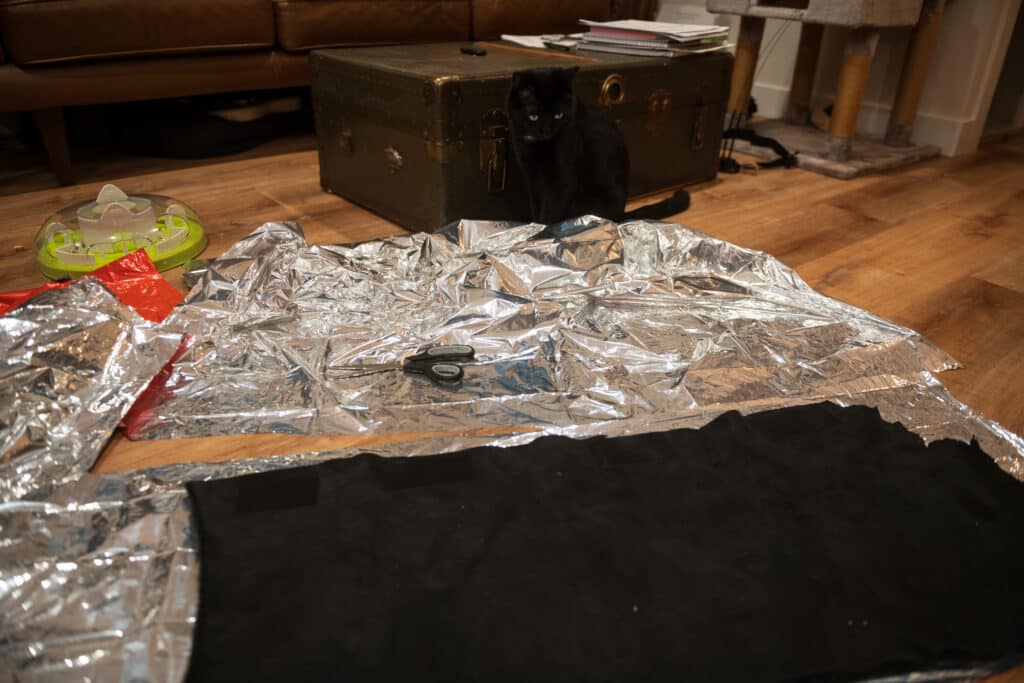
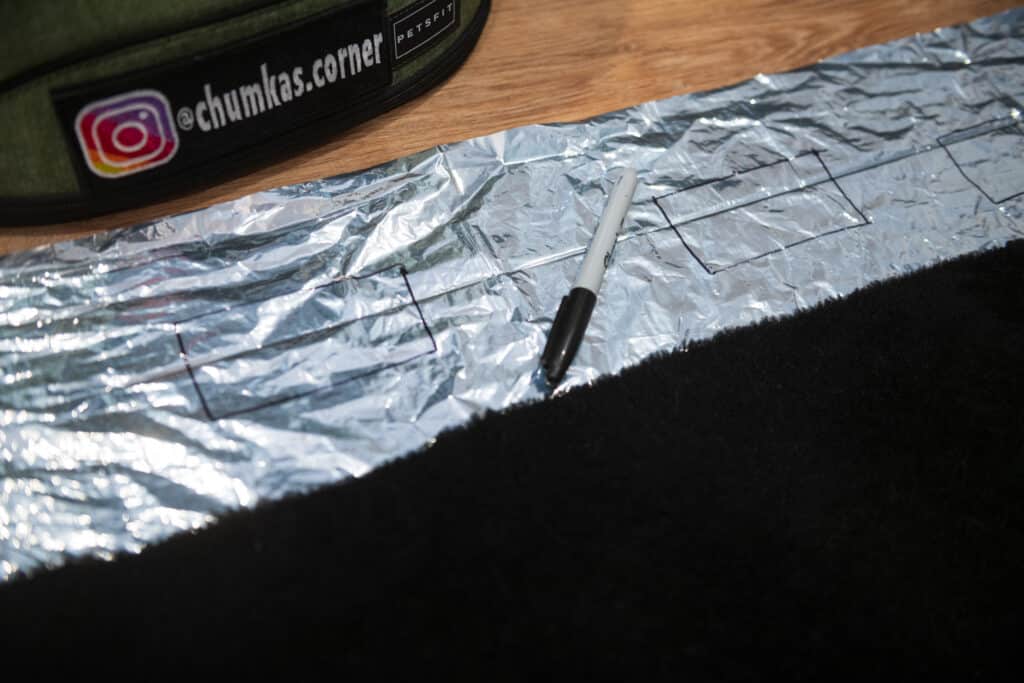
Because I didn’t think about the blanket earlier, I already had my velcro pieces (for sheepskin) inside the backpack. I didn’t want to rip those out as they really worked well and I didn’t want to redo that step. So I went to bed to sleep on it… and I woke up with an idea.
I used a sharpie to mark on the blanket where the Velcro’s are, and then I cut those pieces out.
Assembling the layers
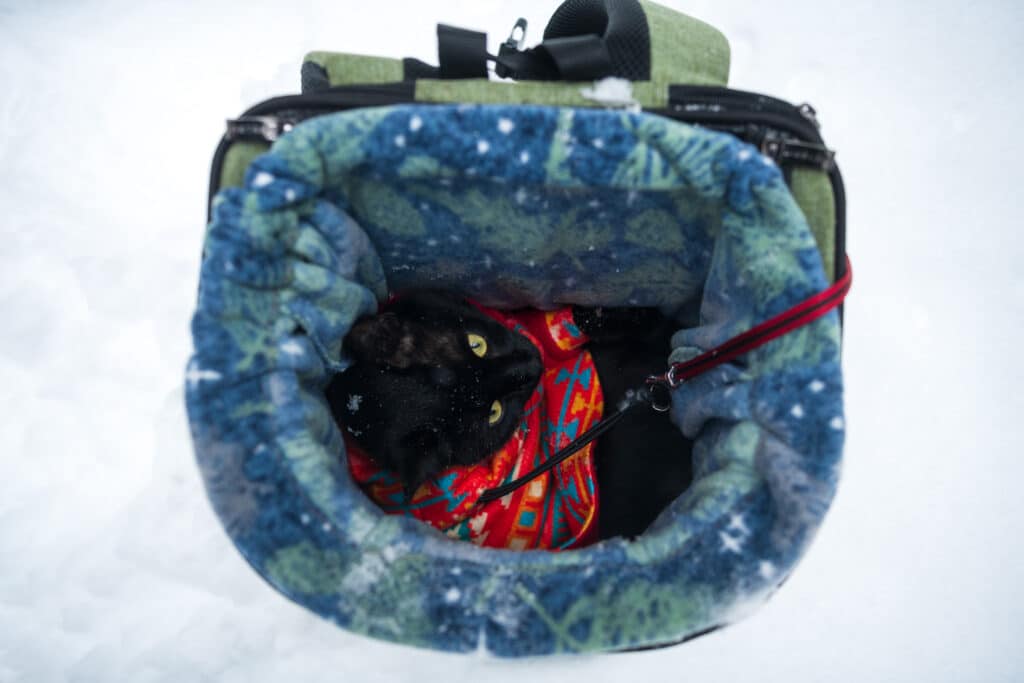
The outermost layer is the emergency blanket. It is windproof and helps to stop the heat from escaping. I asked my husband to help me to keep the blanket in place while I was placing the sheepskin inside. Then I folded the extra blanket inside, over the sheepskin. It was just another way to keep it from moving or falling.
Next, I placed the Narlynx bed inside! It really makes the backpack look soooo cozy and warm. You just want to jump in and have a nap yourself hehe
Bonus tips
I like to pull the Narlynx bag over the Petsfit backpack top opening. This keeps the fleece bag from losing its shape or wrinkling.
Another great tip is to put some Velcro’s on the edges of the backpack and the fleece bag. That guarantees that everything is going to stay put and you won’t need to re-adjust the layers every time your cat gets in or out of the backpack.
Final words
I hope that my “silly” project can help someone looking to bring their pet on winter adventures. Like I said earlier, this isn’t the most aesthetic design – but it works! And it’s something that can easily be undone once the weather warms up!
I hope you have a good day, please give your pet some love from me 😌💛

